Part 4: Auth0 Service
Postgrest performs authentication and authorization using JWTs.1. JSON Web Token (JWT) is an open standard (RFC 7519) that defines a compact and self-contained way for securely transmitting information between parties as a JSON object.
We can use a SQL funtion to generate a JWT based on username/password. However many users prefer to use the social logins instead of creating one more account. Authentication brokers like Auth0 provide an easy way to incorporate social logins like Facebook, Google, etc into existing applications.
A primer on JWT and JWKS.
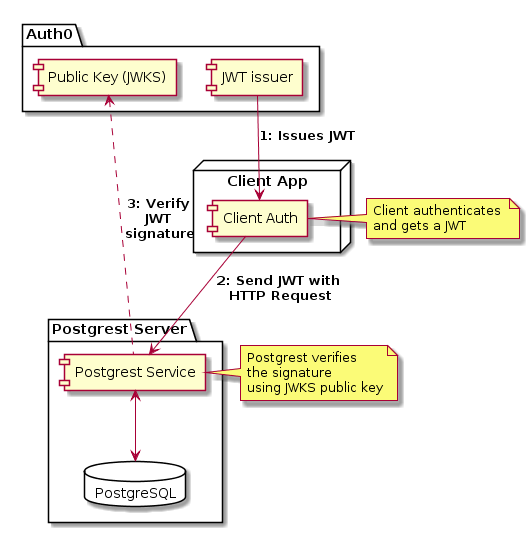
The UML Component diagram explains the flow in detail, which consists of the following steps:
- Auth0 creates a JWT and signs it using the private key specified in the account.
- It provides a JWKS public key as a JSON file on a
.wellknownendpoint. - Client get the JWT from Auth0 and adds it to the HTTP Headers of the request.
- Postgrest uses the JWKS to verify if the JWT is really signed using the account’s key. If the signature is valid, Postgrest permits the operation.
Please note that JWTs are signed not encrypted, and are visible in network traffic. If an attacker spoofs the JWT, it’s signature will change and it’s verification will fail.
Step0: Auth0 Configuration
To create an account, head over to Auth0 and create a free account.

Step 1: Create an Auth0 Application
From the dashboard let’s create an Application that we’ll use to for social logins.
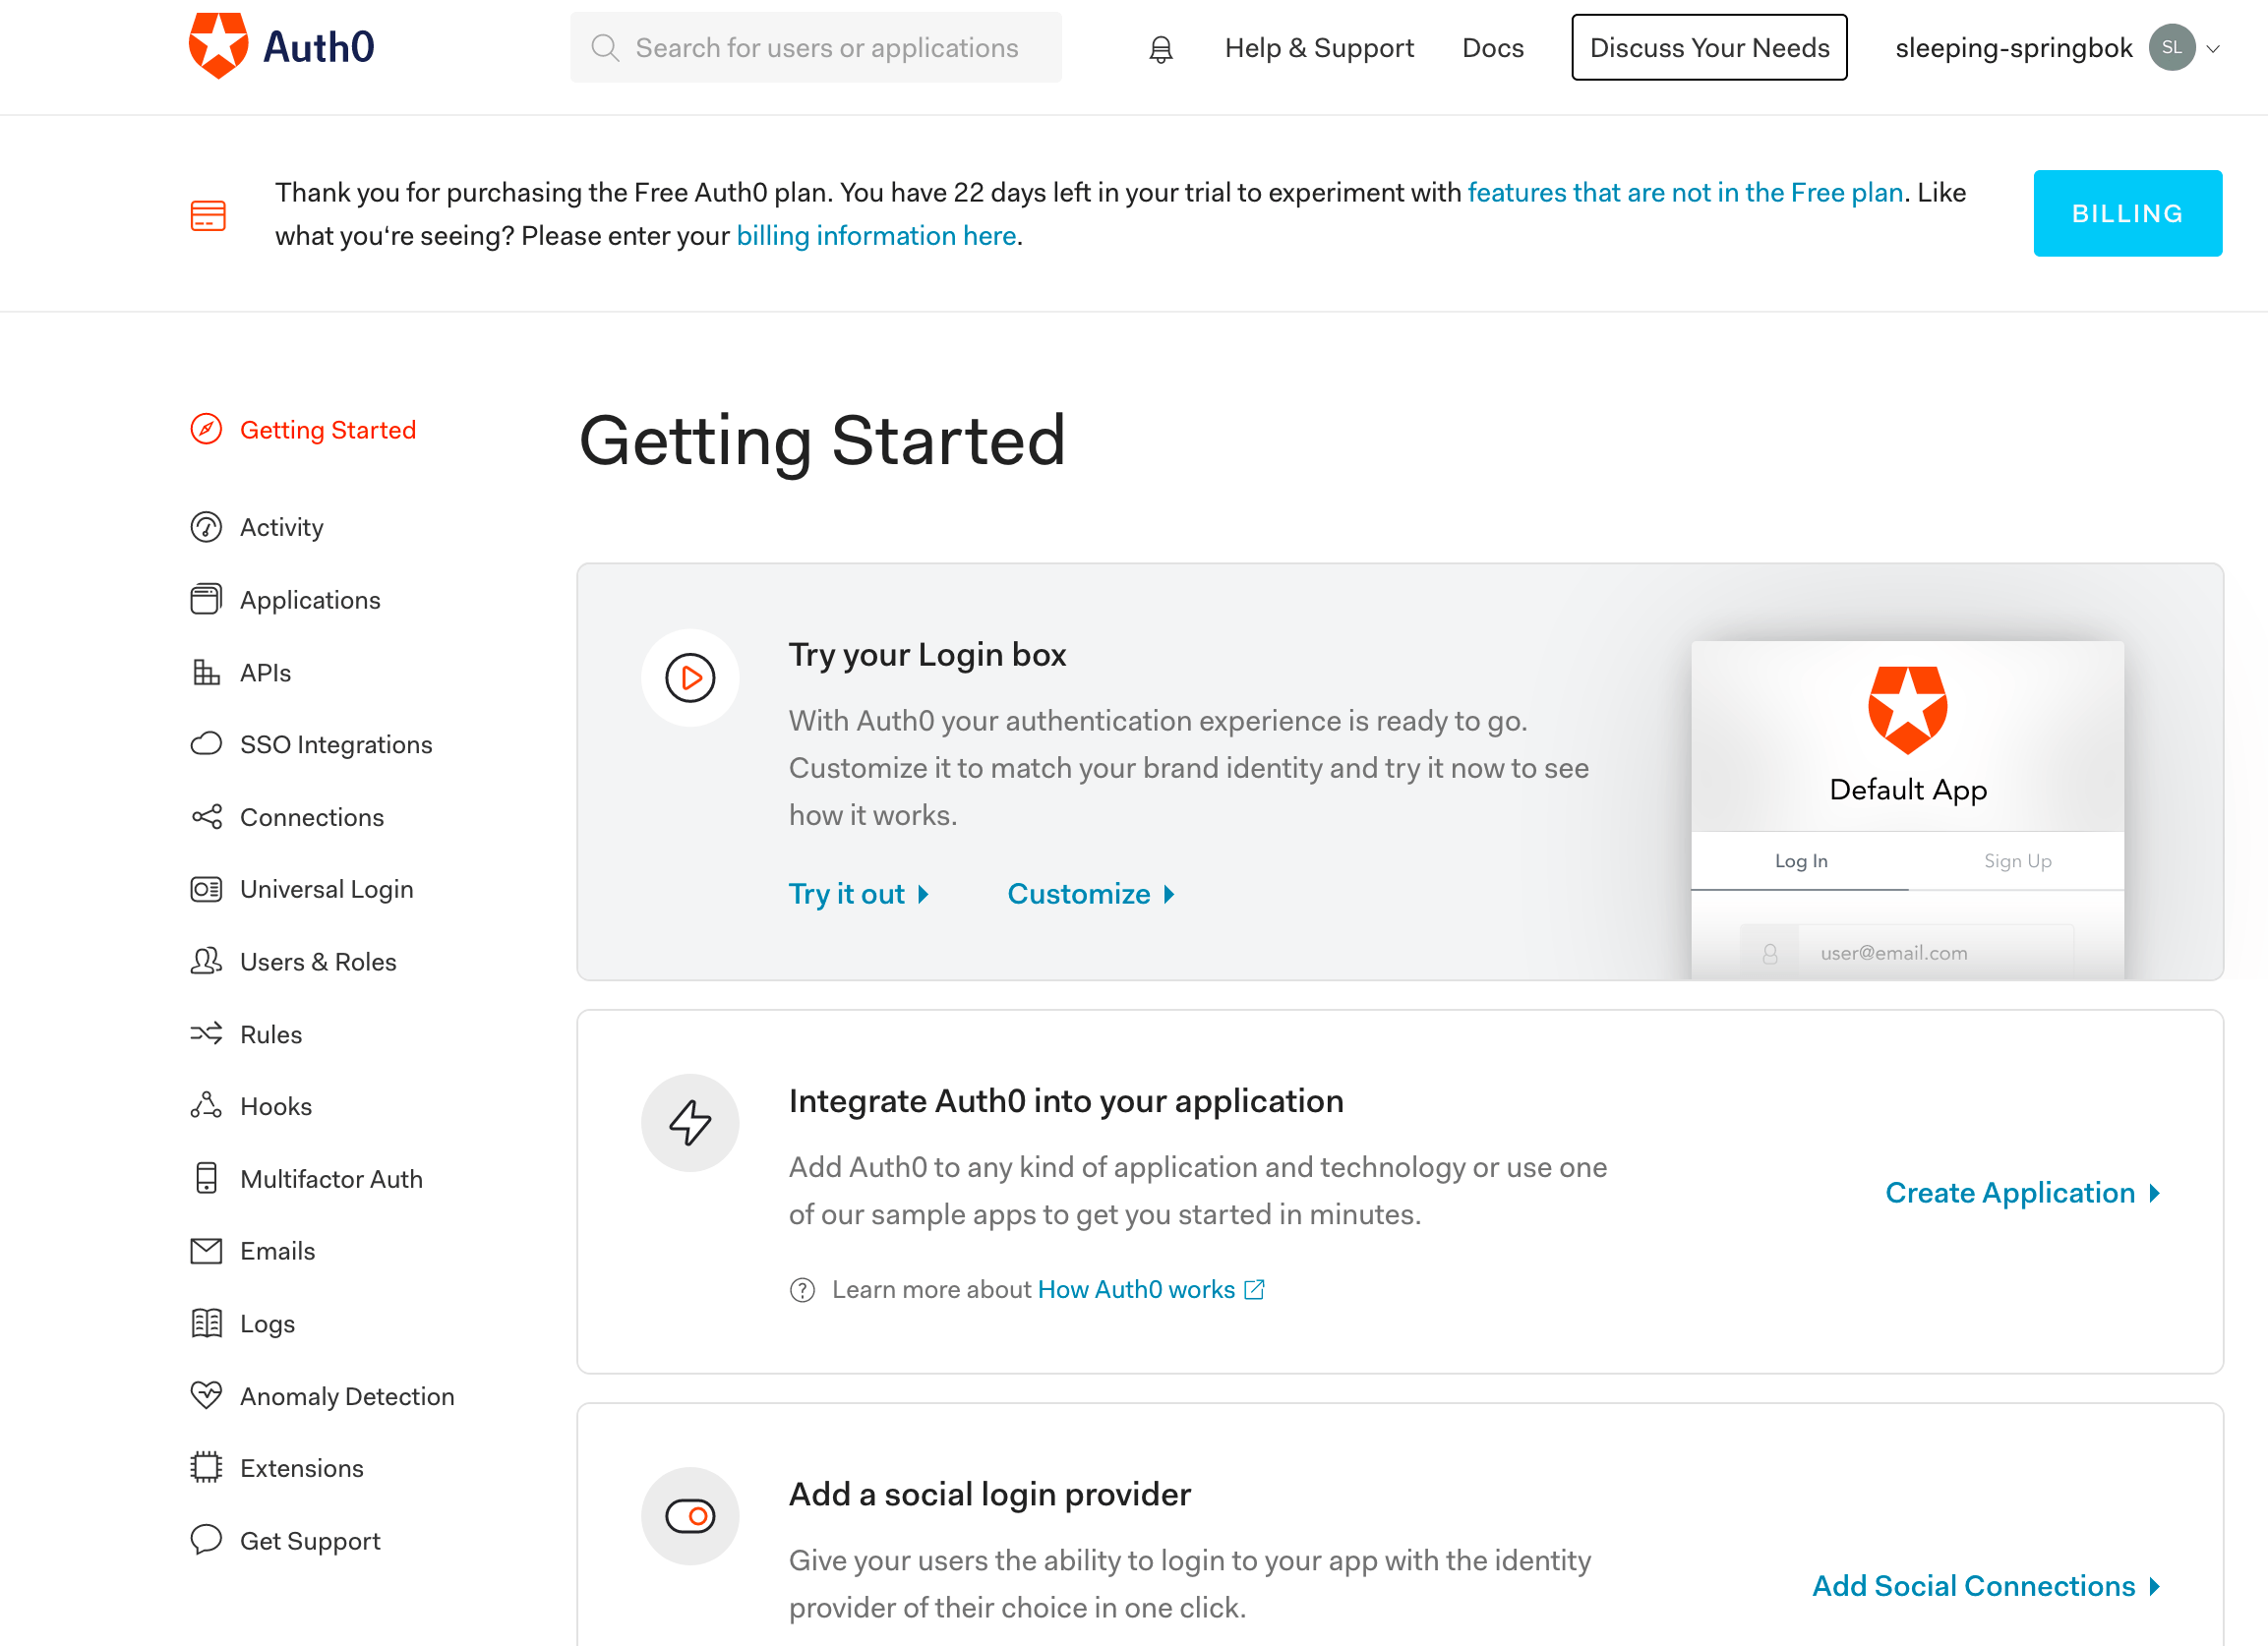
From the dashboard, click the “Create Application” link, and select the Native Application type.
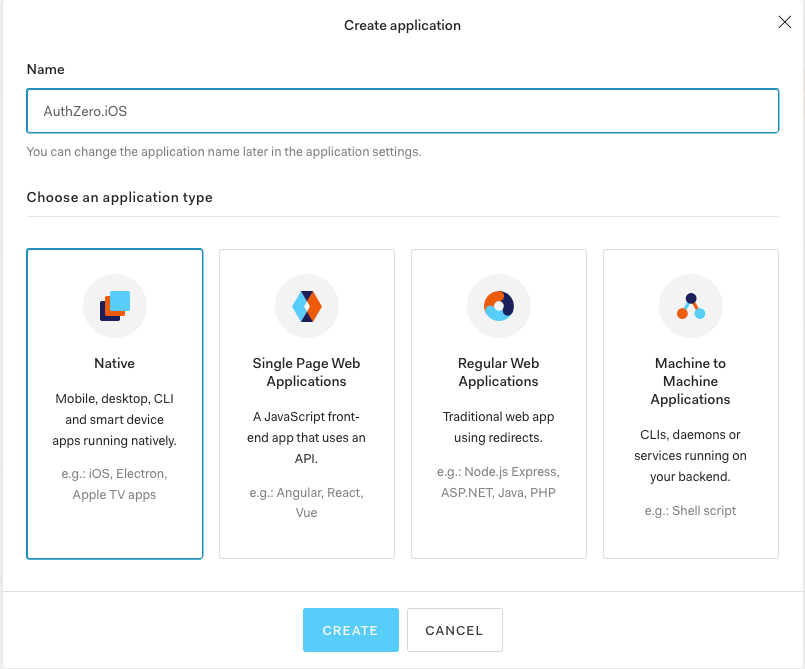
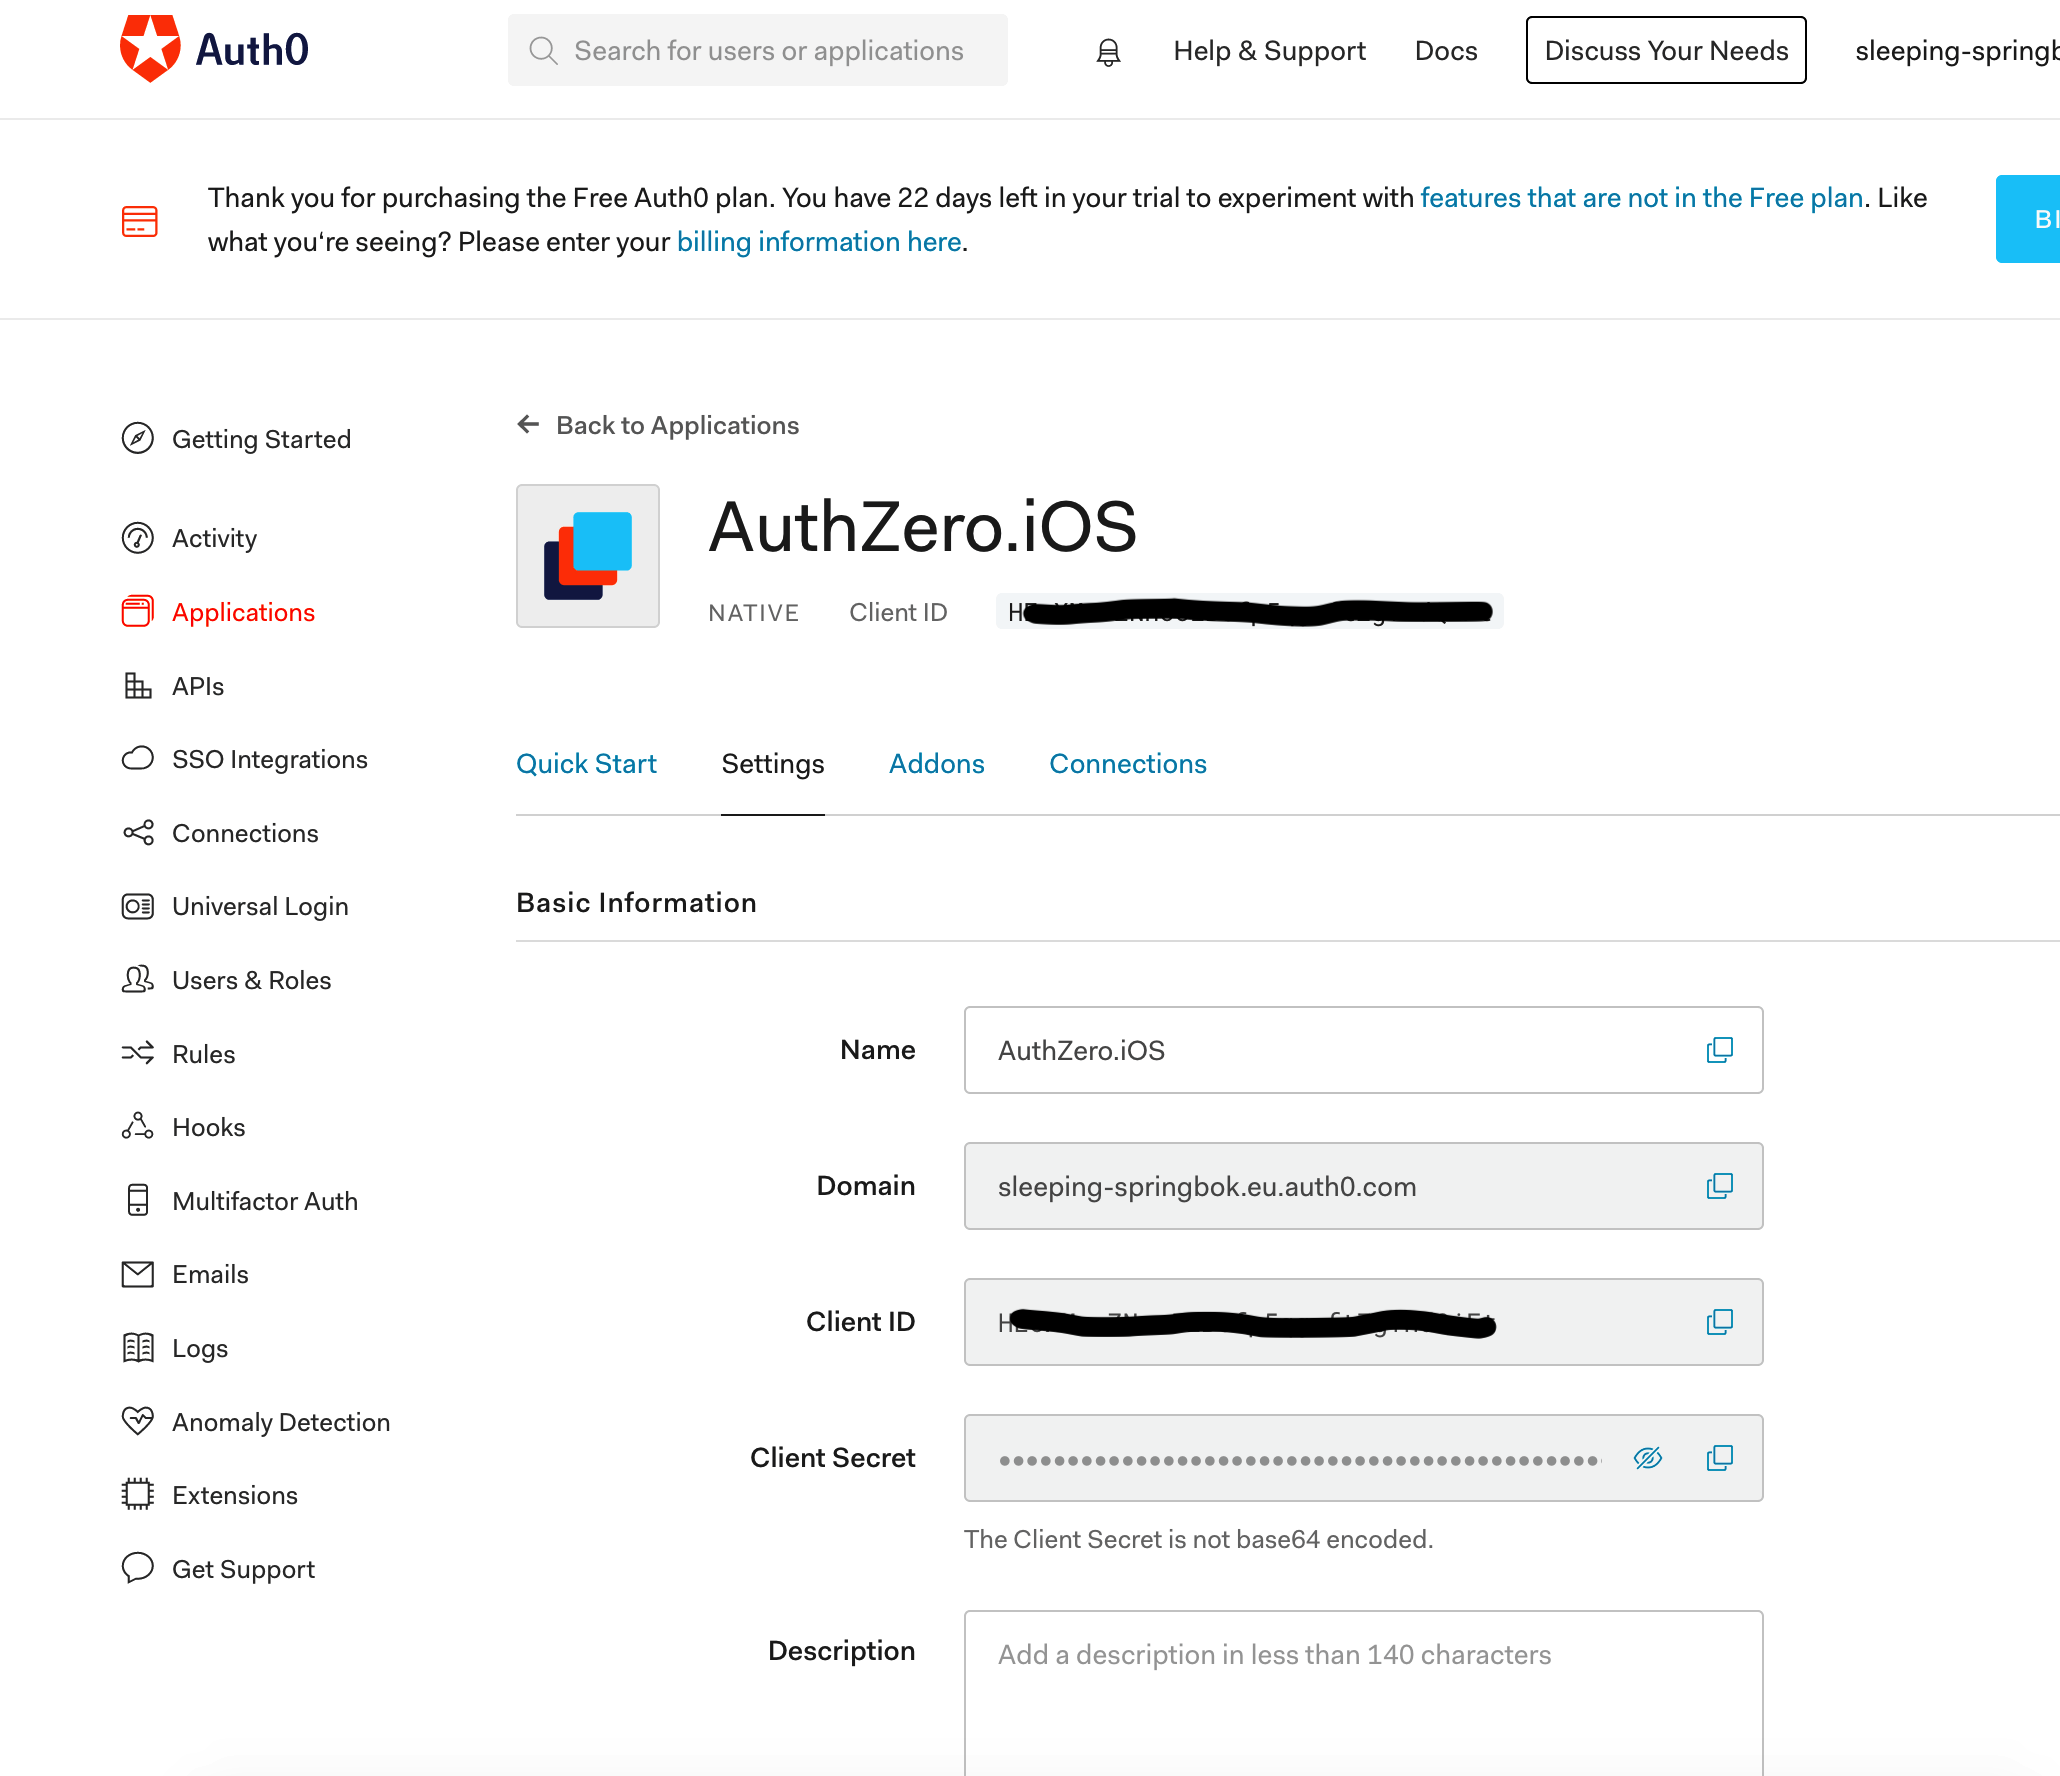
We’ll name this application as AuthZero.iOS.
Step 2: Adding custom claim to Auth0
Postgrest needs that the JWT issued by Auth0 should contain a custom claim2 denoting the api_user role. This user can add/modify the DB which we configured previously. The claim will appear in the JWT as:
"https://postgrest-demo.de/role" : "api_user".
Head over to the rules section of Auth0 Dashboard, and create a new Empty rule. Add the following JS snippet. This rule is run everytime a JWT is generated, and we can add custom claims safely using this method.
function (user, context, callback) {
  // Roles should only be set to verified users.
  if (!user.email || !user.email_verified) {
    return callback(null, user, context);
  }
  user.app_metadata = user.app_metadata || {};
  const addRolesToUser = function(user) {
    return 'api_user';
  };

  const roles = addRolesToUser(user);

  user.app_metadata.roles = roles;
  auth0.users.updateAppMetadata(user.user_id, user.app_metadata)
    .then(function() {
      context.idToken['https://postgrest-demo.de/role'] = user.app_metadata.roles;
      context.accessToken['https://postgrest-demo.de/role'] = user.app_metadata.roles;
      callback(null, user, context);
    })
    .catch(function (err) {
      callback(err);
    });
}
Postgrest configuration
Once the Auth0 service is configured, we need to share the JWKS public key with postgrest. Auth0 provides the JWKS public key as a json file at the .well-known endpoint. This is a public URL which is available to public at: https://<YOUR_DOMAIN>.eu.auth0.com/.well-known/jwks.json. Download the JWKS and save it on the certs folder as rsa.jwk.pub. With this information we’ll extend the posgrest docker service to use JWTs issued by Auth0.
version: '3'
services:
  db:
    image: postgres:alpine
    ports:
      - "5432:5432"
    expose:
      - "5432"
    environment:
      POSTGRES_DB: app_db
      POSTGRES_USER: app_user
      POSTGRES_PASSWORD: password
    volumes:
      - "./pgdata:/var/lib/postgresql/data"
      - "./scripts:/docker-entrypoint-initdb.d"
  server:
    image: postgrest/postgrest
    ports:
      - "3000:3000"
    links:
      - db:db
    environment:
      PGRST_DB_URI: postgres://app_user:password@db:5432/app_db
      PGRST_DB_SCHEMA: api
      PGRST_DB_ANON_ROLE: api_anon
      PGRST_ROLE_CLAIM_KEY: ".\"https://postgrest-demo.de/role\""
      PGRST_JWT_AUD: "34g9nWtblyqBUgD/o0HIqW1GLxIPpbbK3VLMs1KuJbQ="
      PGRST_JWT_SECRET: "@/opt/config/rsa.jwk.pub"
    volumes:
      - "./certs/rsa.jwk.pub:/opt/config/rsa.jwk.pub"
    depends_on:
      - db
  swagger:
    image: swaggerapi/swagger-ui
    ports:
      - "8080:8080"
    expose:
      - "8080"
    environment:
      API_URL: http://localhost:3000/
The highlighted lines show the additional changes made to the Dockerfile. Let’s take a look at the changes:
PGRST_ROLE_CLAIM_KEY denotes the custom claim i.e. role that’s being sent in the JWT. The entry in the JWT will be "https://postgrest-demo.de/role" : "api_user"
PGRST_JWT_AUD denotes the “aud” (audience) claim which identifies the recipients that the JWT is intended for. This is the Auth0 Client ID from the Application we created in previous step.
PGRST_JWT_SECRET is the JWKS public key json file that we downloaded from the Auth0 .well-known endpoint. This is mounted under /opt/config directory of the postgrest service.
We are now ready to test the REST API by authenticating using Facebook. In the next post we’ll create an iOS application AuthZero.iOS from the dashboard. We’ll use the app to login to Facebook, get a JWT from the Auth0 service, and verify the REST API.